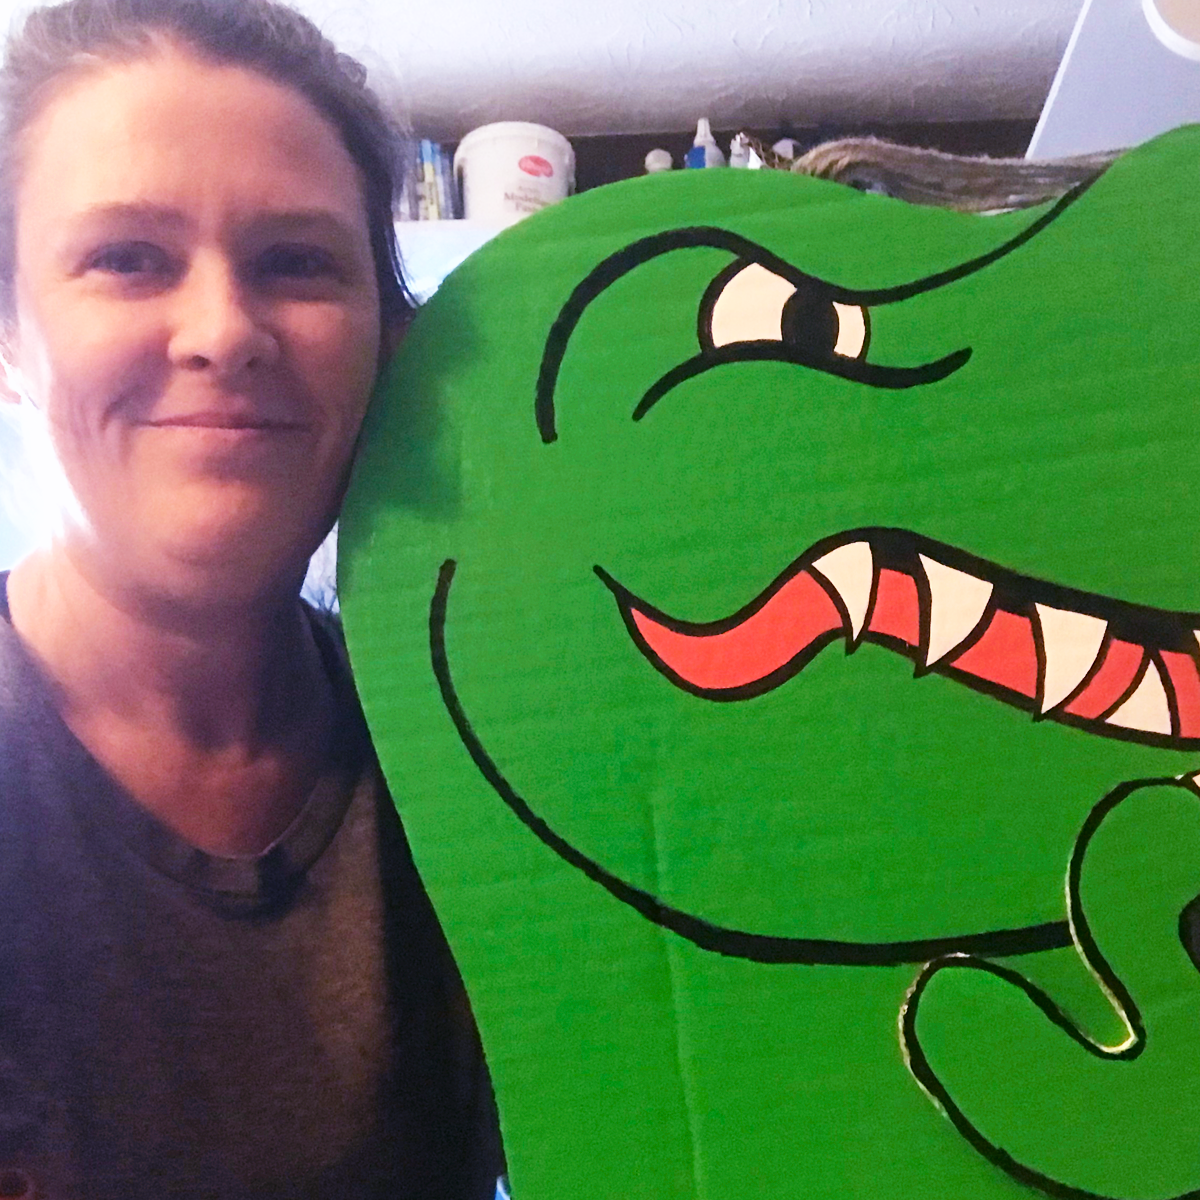
My nephew is really into dinosaurs, especially T-Rex & Pterodactyls. So, I decided to try my hand at creating a giant T-Rex piñata for his birthday celebration. I’ve included notes on materials, process details and some process photos below.
Artist: Bree Beebe
Media: Mixed Media
Created: July 2022
Materials:
- Procreate for sketching ideas
- Super large and strong cardboard box
- Pencil & eraser for sketching design
- X-acto knife & cutting board
- Acrylic paint (white, green, pink, black)
- Sharpie Pen for outline
- Hot glue gun & several of sticks of clear glue
- Flexible sewing measuring tape
- Painters blue tape
- 2 feet of Cord or strong string (I used several pieces of yarn binded together)
Process:
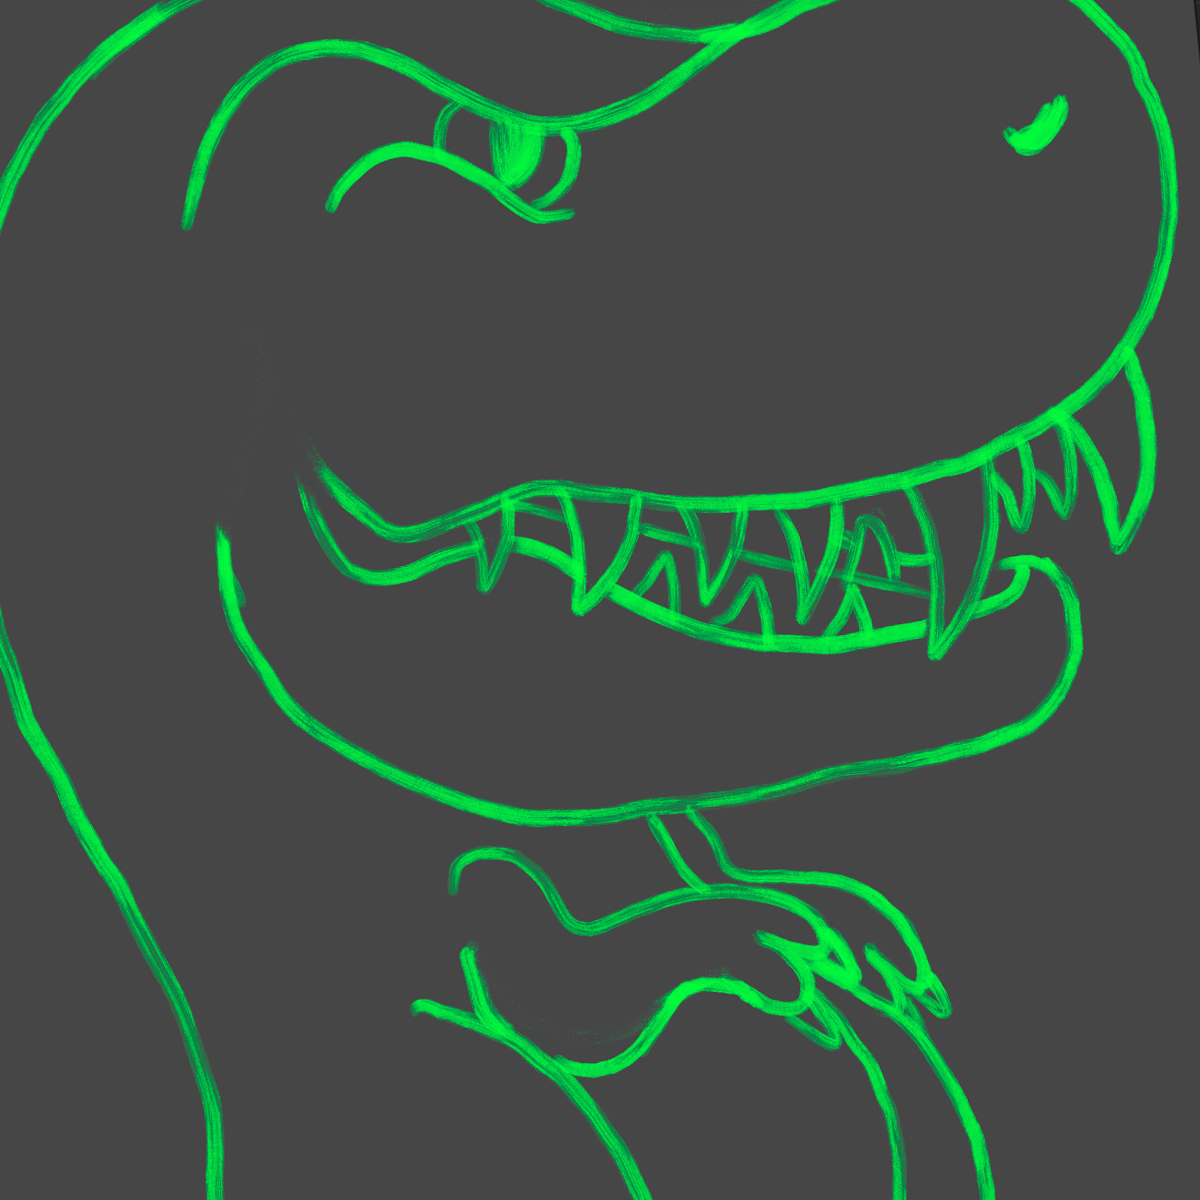
1. Sketch t-rex ideas for piñata (I used Procreate, but good ol’ paper and pencil work just as well).
2. Sketch the t-rex’s body on a cardboard box
3. Sketch out the t-rex’s left arm on the cardboard box.
4. Using the x-acto knife and cutting board, cut out the left arm. Test out how the arm looks on the t-rex.
5. Using the pencil, trace the t-rex’s right arm on the cardboard box.
6. Then cut out the right arm. Remember, the other arm will be mirror image, so make sure to flip it over to paint.
7. Sketch the t-rex’s left leg on the cardboard box.
8. Using the x-acto knife and cutting board, cut out the left leg. Test out how the leg looks on the t-rex.
9. Using the pencil, trace the t-rex’s right leg on the cardboard box.
10. Then cut out the right leg. Remember, the other arm will be mirror image, so make sure to flip it over to paint.
11. If you’re happy with the size of the body and limbs, use the x-acto knife and cutting board to cut out the t-rex’s body.
12. Using the pencil, trace the t-rex’s body on the cardboard box.
13. Then cut out the t-rex’s body. Remember, the body will be mirror image, so make sure to flip it over to paint.
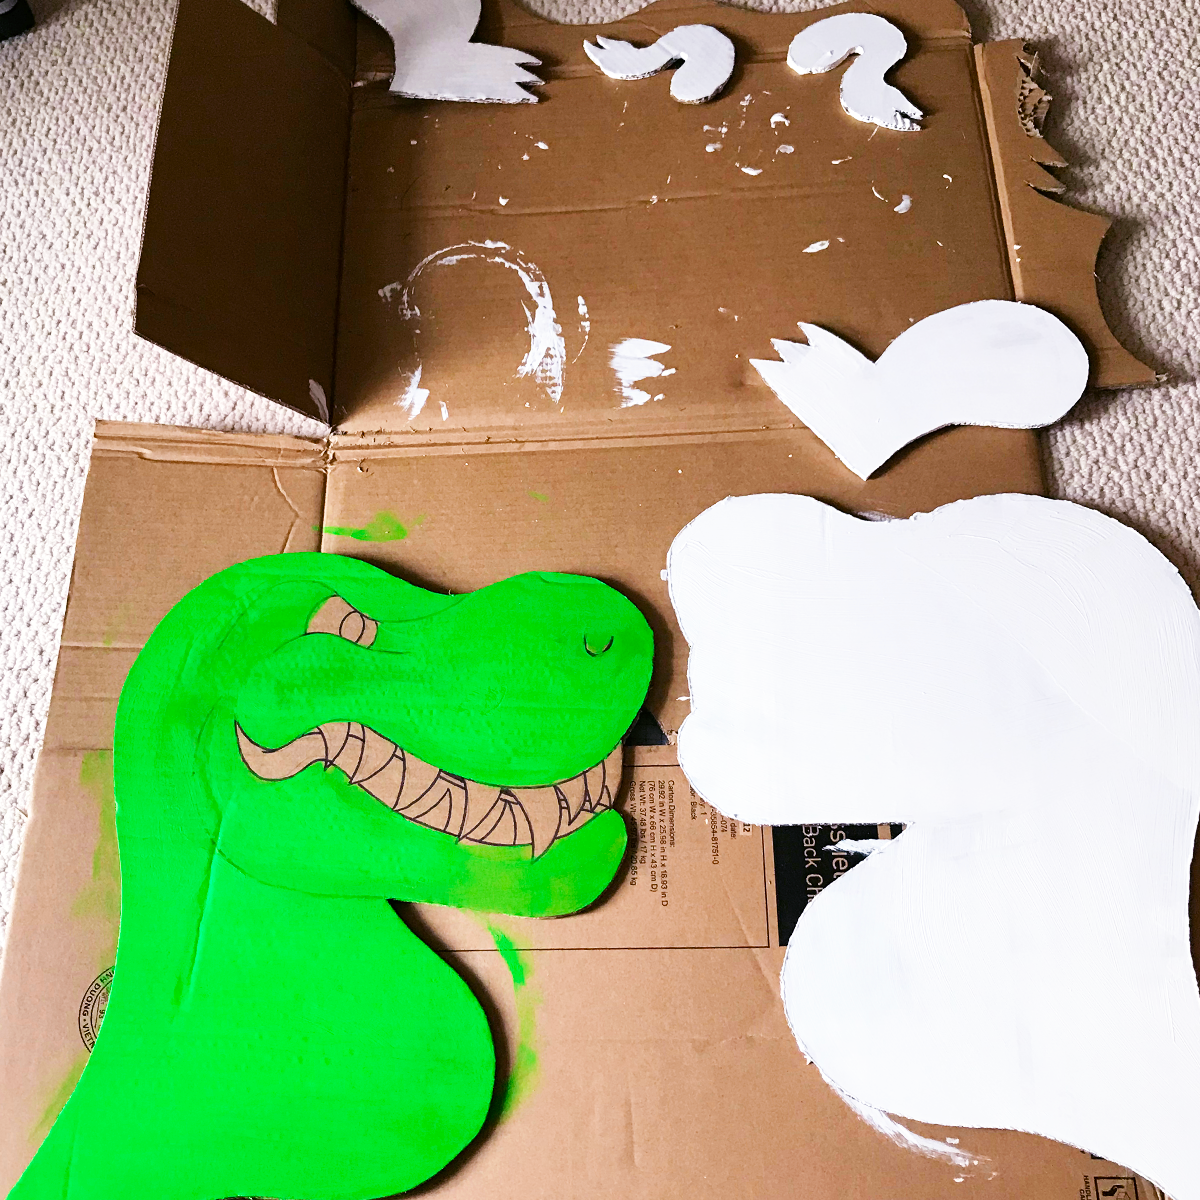
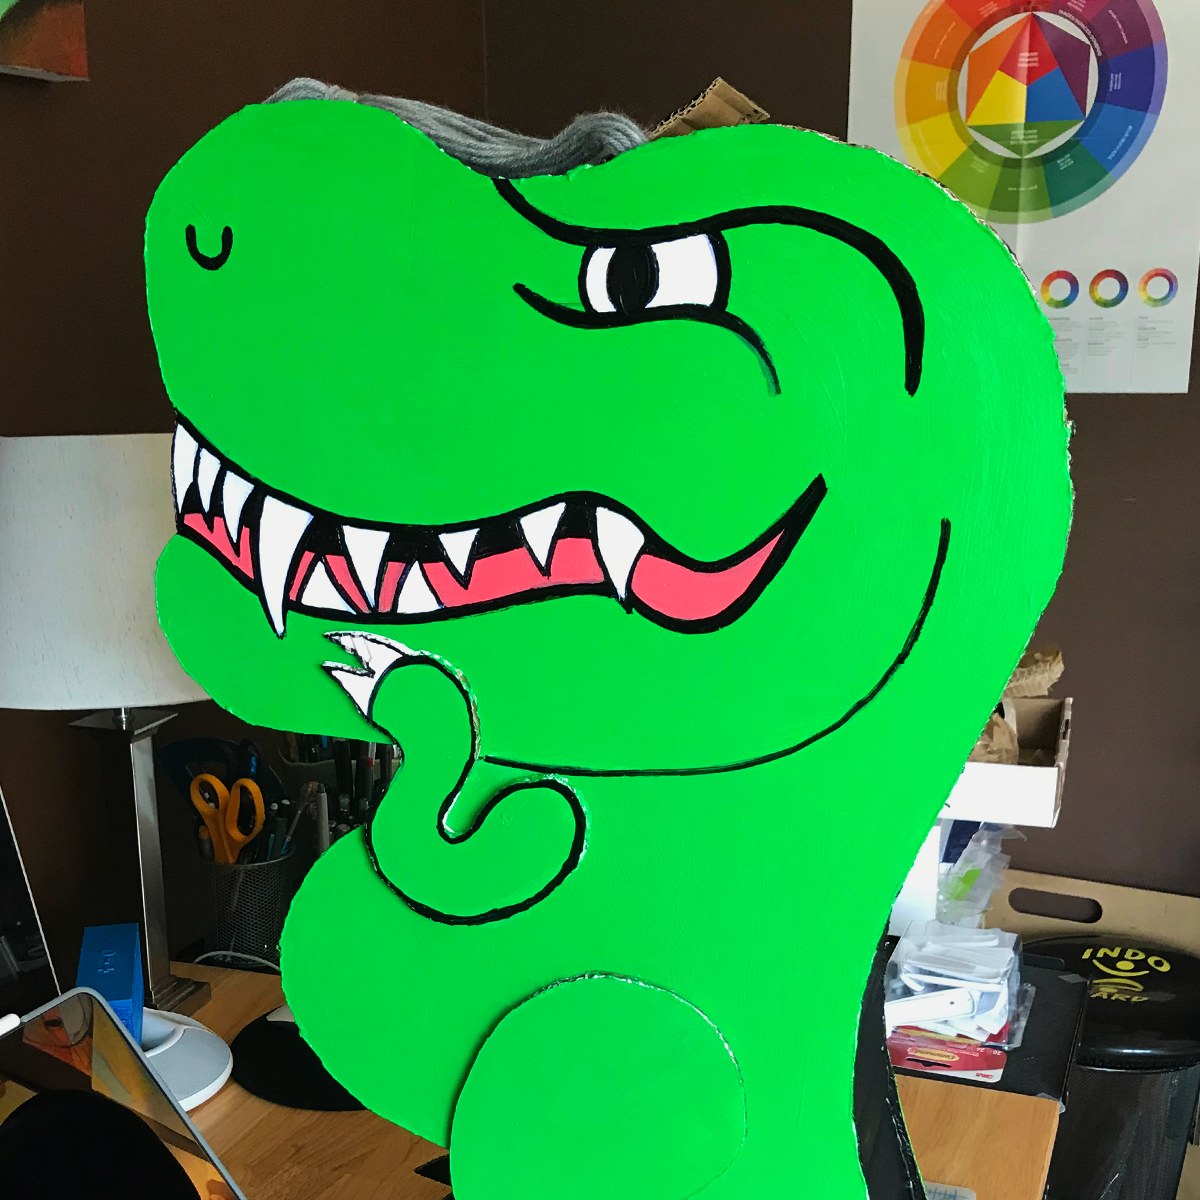
14. To get the brightest green coverage, prime your cardboard with white gesso - or you will need to paint 2 layers of green paint. Looking at the second image, you’ll notice the left tree’s body did not have a gesso base and I ended up painting multiple layers of green to get a more even and brighter coat of green.
15. I learned my lesson and put a base of white gesso on all the limbs and the second body.
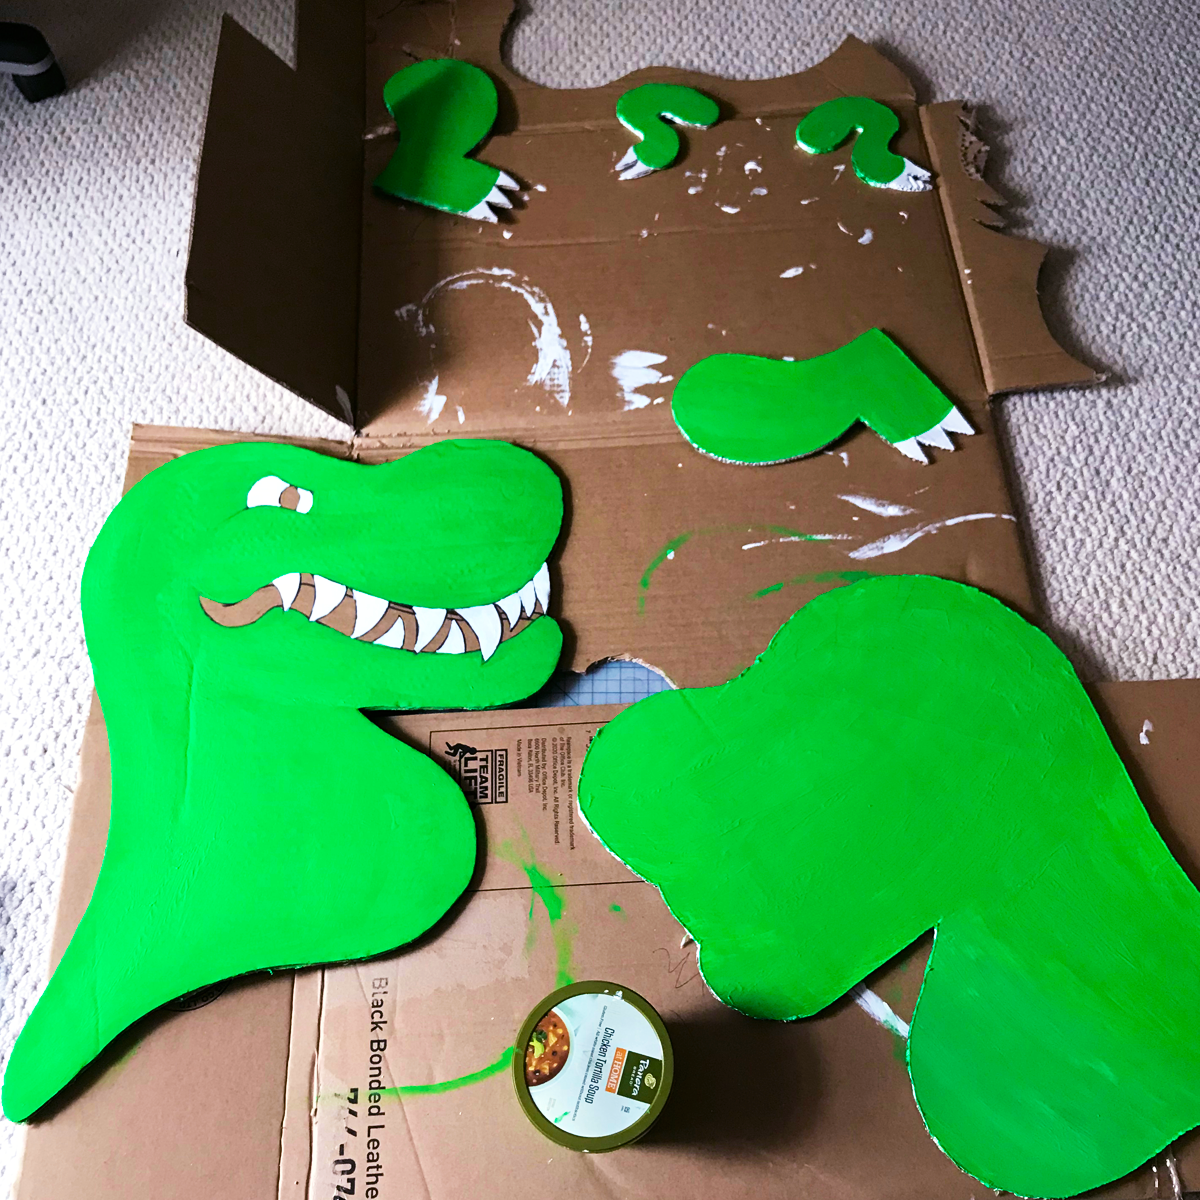
16. Then I painted the second body and the limbs with green (leaving the claws on the toes and hands white.)
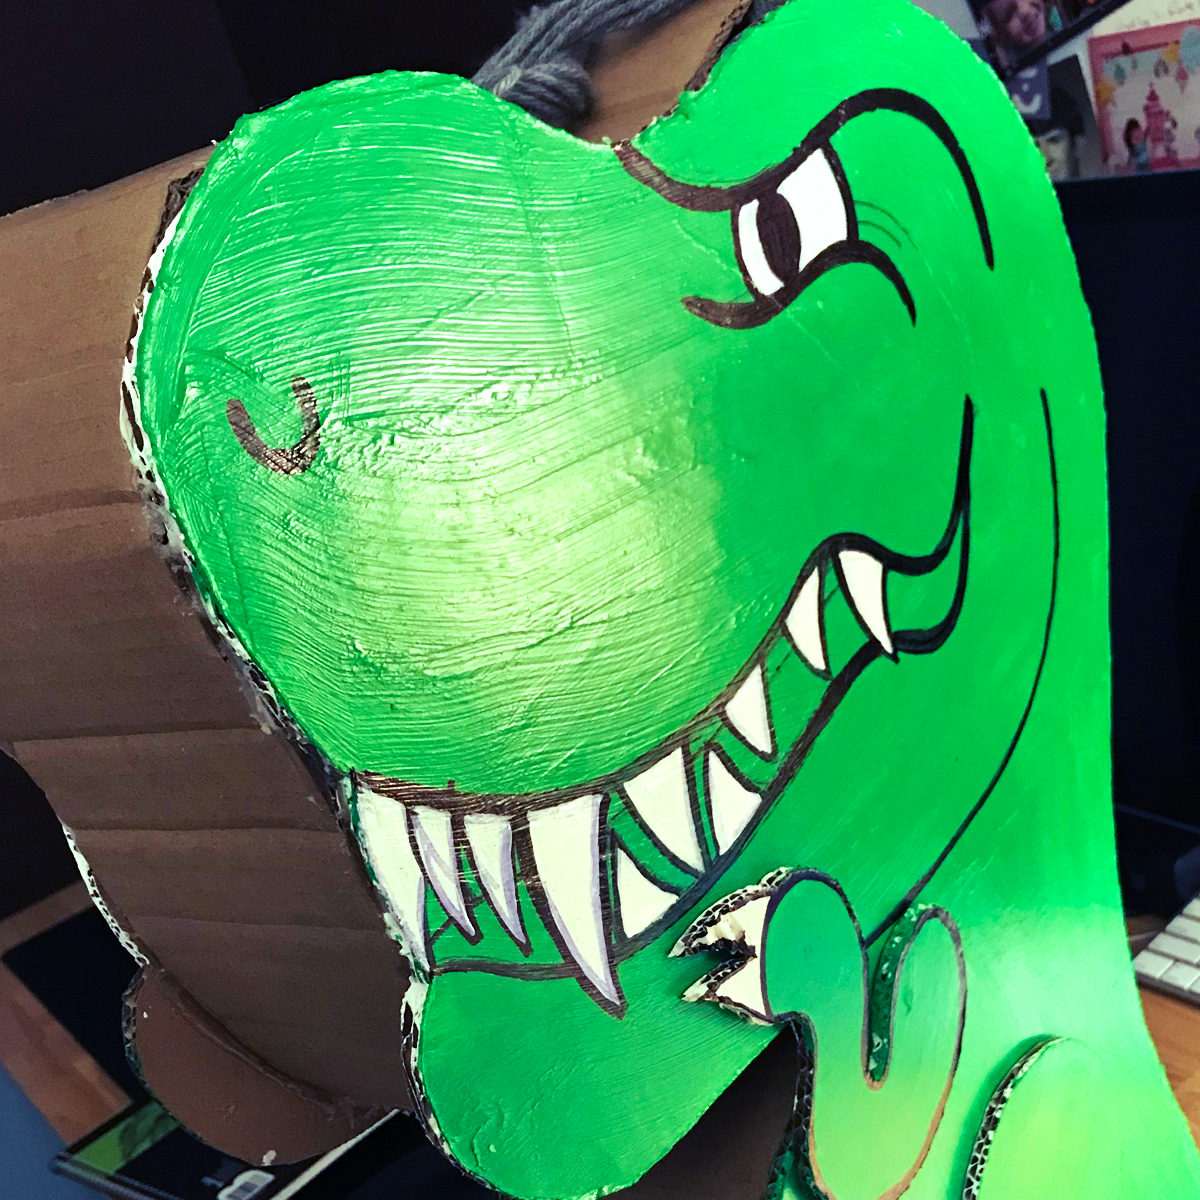
17. Then I painted the eyeball and teeth on the first t-rex body.
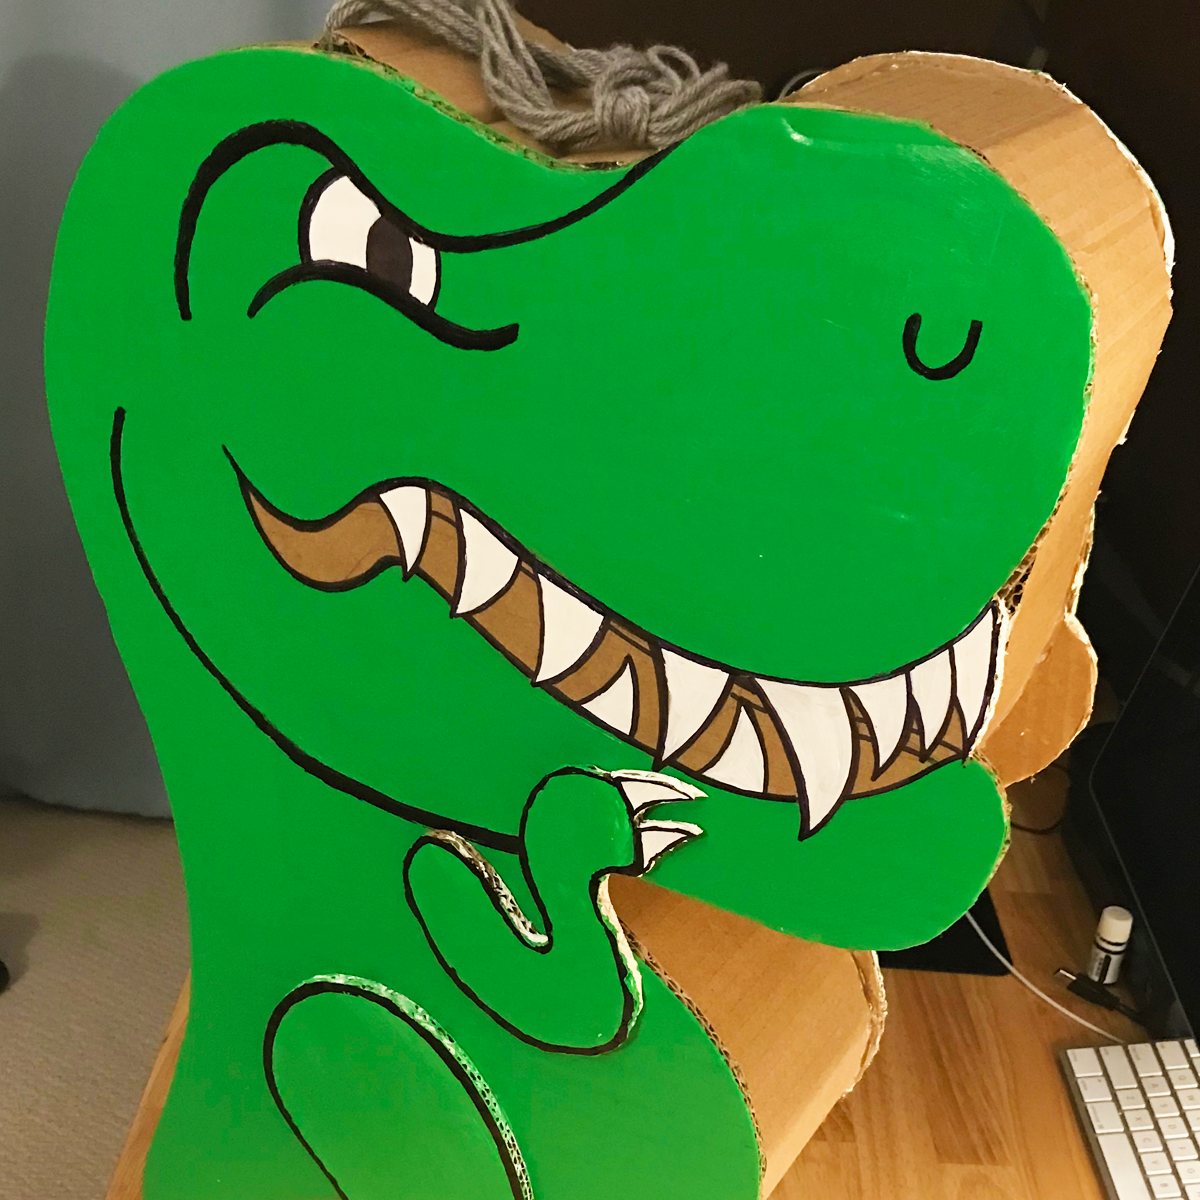
18. Using a large black sharpie, I outlined the facial features on the first t-rex body. Once I was happy with drawing, I also drew the mirror image on the second t-rex body.
19. Then I measured the perimeter of the dino’s body with a sewing measuring tape. Then cut out multiple pieces of cardboard to total 4” w x 78” l for the t-rex’s middle section. Be sure to cut against the grain for maximum bending of the cardboard. I also bent out the board to improve bending for curved areas.
20. Next, I turned over the first t-rex’s body and used painters blue tape to test out placement of the middle section. Once I was happy with the placement, I hot glued the middle section down all along the perimeter of the inside of the body, but STOPPING at the middle of the top of the head to keep a 3” in opening. This hole is the opening to insert piñata fillings.
21. Then I needed to figure out how I would hang the piñata. Since I only had yarn on hand, I went the lazy route and just tied several lengths of yarn together at the top and bottom, roughly 2 feet long. Then I closed the loop, tying the 2 ends together.
22. Then I cut a piece of cardboard 3” wide by 6” long and glued the middle of the cardboard to the top of the head just below the opening on the inside of the piñata. Then I inserted the string through the piece of board and out through the opening at the top.
23. Then I hot glue down the other side of the body.
24. Since I used a really strong cardboard, I wanted the dino to be able to stand on his own, The legs on the 2 sides allow t-rex to stand on his own. To make sure he was stable, I tested out a few placements for his legs using painters blue tape. Once he felt stable, I hot glued down his legs to the body.
25. Then I hot glued down his arms.
26. Next I added finishing touche - painting the tongue pink, painting the middles section black, retouching missed sections of green and going over outline areas with the sharpie.
27. Fill up the piñata with goodies - stickers, dinosaur figurines, hinoballs, candy and treats.
28. Seal up the insert cardboard inside the piñata with hot glue. seal up the top of the t-rex head with hot glue.
29. Take pics to capture the beautiful artwork you created….
Now you’re ready for the kiddos to start bashing the diñata!
–––––––––––––––––––––––––––––––––––––––––––––––––––––––––––––––––––––––––
❤️ I’d love to hear what you think! Share your thoughts in the comments below ❤️